
Wet Sticker Application Guide (for beginners)
Applying stickers, decals, logos, and promotional graphics to vehicles or other indoor and outdoor surfaces requires proper preparation and careful installation to achieve the best long-term results.
1. Surface Preparation
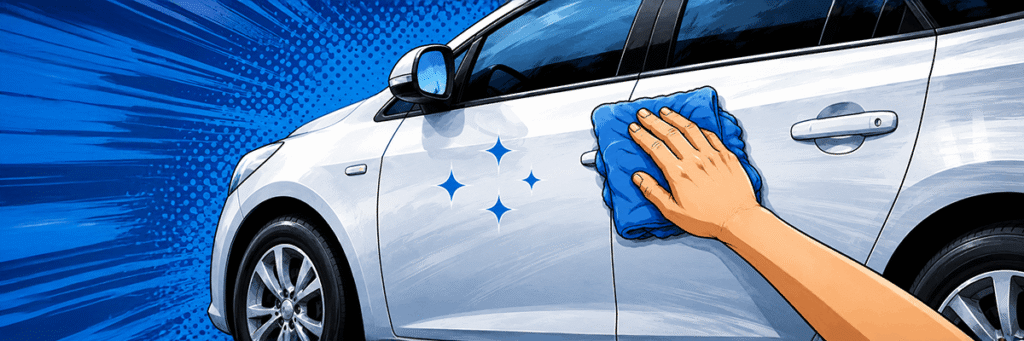
Before applying any sticker, thoroughly clean the target surface and remove all dirt, dust, grease, and contaminants.
For maximum adhesion and durability, the surface should be completely degreased. Suitable cleaning products include:
- Glass cleaners
- Mild soap and water
- Water mixed with dishwashing liquid
- Isopropyl alcohol or alcohol-based cleaners
2. Wet Application Method
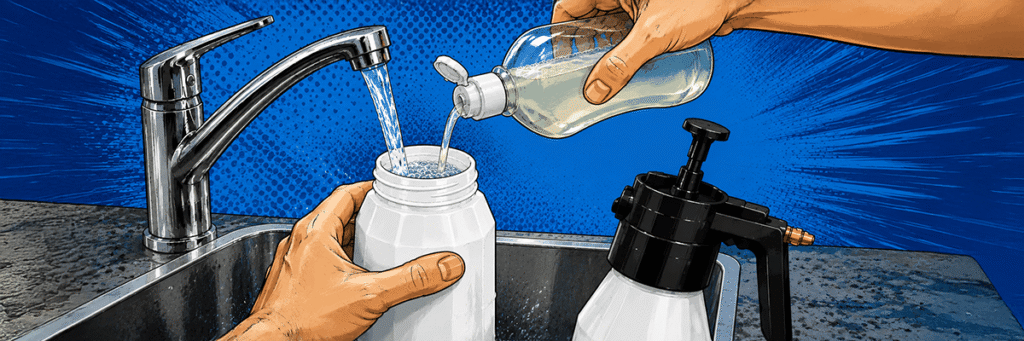
For beginners, the wet application method is usually the easiest option. It allows the sticker to be repositioned during installation and helps reduce trapped air bubbles, especially when working with films that do not feature air-release channels.
Apply the installation liquid both to the surface and the adhesive side of the sticker.
Recommended mixtures:
- 75–85% water and 15–25% windshield washer fluid
- 70–80% water, 5–10% isopropyl alcohol, and 5–15% liquid soap or dish detergent
- Professional sticker application fluid available from sign-making suppliers or online stores
These solutions help the adhesive settle properly while allowing moisture to be removed more effectively.
3. Spray the Surface
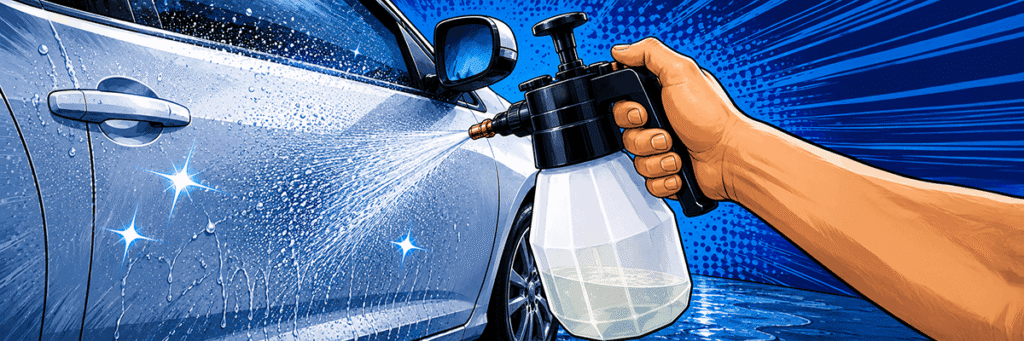
Generously spray the prepared liquid onto the application area before positioning the sticker.
4. Remove the Backing Paper
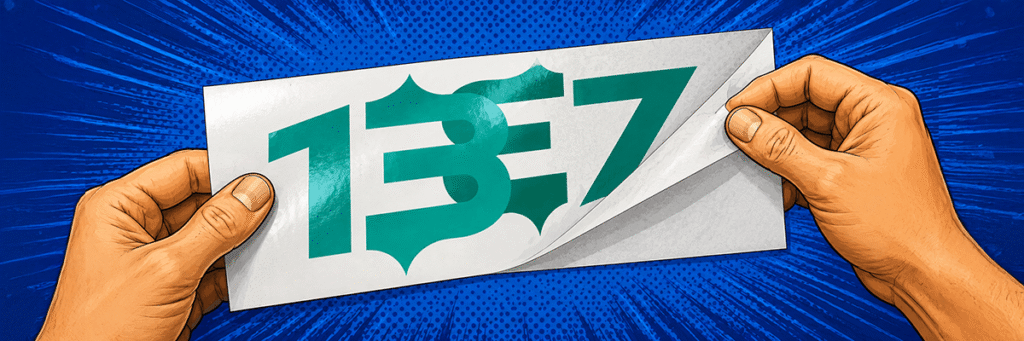
Carefully peel away the backing liner from the sticker.
If your decal uses a transparent transfer tape, lightly spray the adhesive side during removal. If a paper transfer tape is used, avoid wetting it.
Try not to touch the adhesive surface. If handling is necessary, use gloves or keep your fingers slightly wet to avoid transferring oils.
5. Position the Sticker
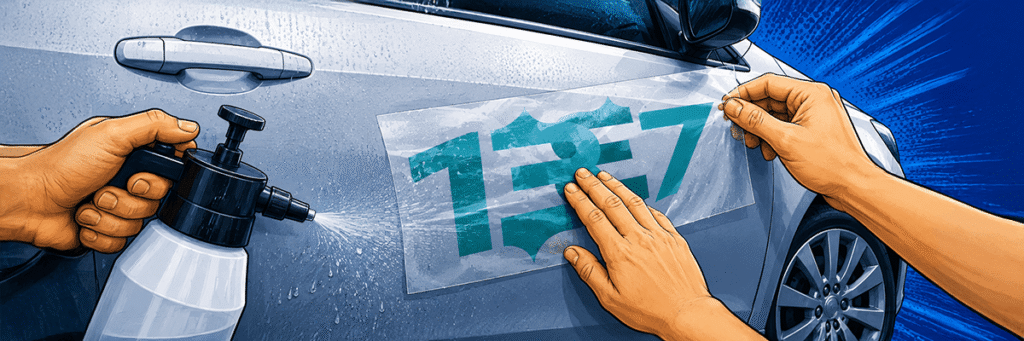
Place the sticker onto the prepared surface.
Because the surface is wet, you can easily slide and adjust the decal until it is perfectly aligned.
6. Remove Water and Air

Using a squeegee with a soft edge, push water and trapped air from the center outward toward the edges.
If a professional squeegee is unavailable, a bank card wrapped in a soft cloth can also be used.
Repeat the process until most moisture and air pockets have been removed.
A few tiny bubbles may remain visible after installation. In most cases, these disappear naturally within one to two weeks.
7. Adhesion and Drying Time
The adhesive will begin to bond within the first hour, but full adhesion strength is typically achieved after 24 hours.
During this period, if any corners start lifting, gently press them back into place.
8. Removing Transfer Tape
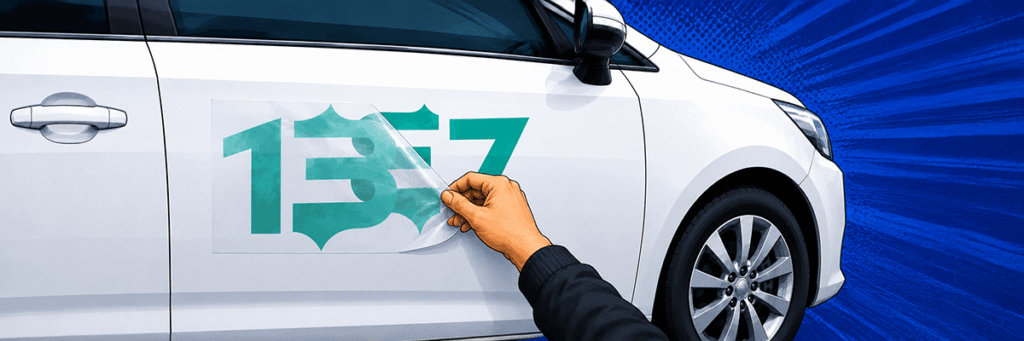
Some decals are supplied with either paper or clear transfer tape.
- Paper transfer tape is usually easier to remove after being lightly moistened.
- Clear transfer tape should generally be removed about one hour after application, once most of the remaining moisture has evaporated.
Removing transfer tape too early may cause parts of the sticker to lift with it.
For solid, one-piece stickers without transfer tape, simply allow the decal to dry completely after installation.
9. Heating the Sticker
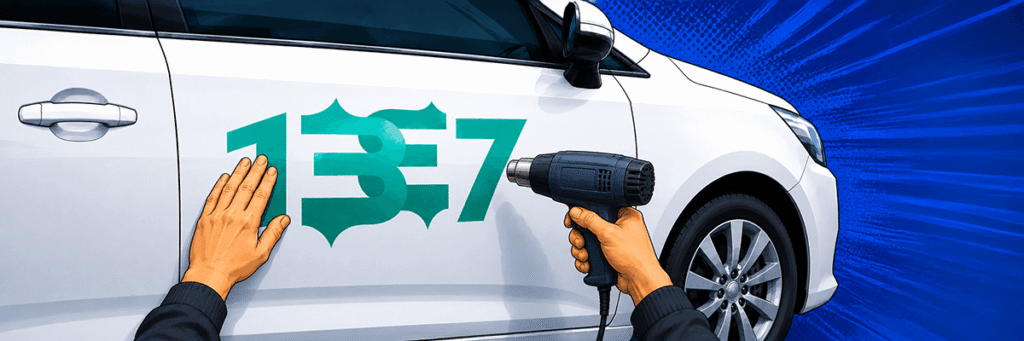
Heating is generally unnecessary unless specifically recommended by the manufacturer or when faster drying is required.
If using a heat gun or hair dryer, apply heat carefully. Excessive temperatures can damage the material, weaken the adhesive, or distort the sticker.
Dry Application Method
Stickers can also be applied dry, but this technique is mainly recommended for smaller decals, simple graphics, or narrow elements.
Dry application offers less room for adjustment and increases the chance of trapping air bubbles that may not disappear over time.
Films equipped with air-release channels are more forgiving and are commonly used for larger applications such as vehicle wraps. However, installing these materials typically requires more experience and skill.
Ready to Order Custom Stickers?
Click here to submit your sticker order and receive a quote.